I think I’ve mentioned before that I might love breakfast just a little. Or maybe a whole bunch. I L-O-V-E breakfast, and will eat it for any meal of the day. While pancakes are a part of our regular weekend rotation of deliciousness, waffles are Little Man’s second favorite and frankly his preference could be bought depending on which one contains chocolate chips. Those we save for super special days, however.
Like pancakes, when we first made the switch to gluten free-ish (Little Man’s issue is actually with not with gluten but with wheat, so we can use spelt flour that is low in gluten but not gluten free) I initially struggled with making a healthy-ish version that was also delicious. One of the tricks I’ve found is that when dealing with low gluten or gluten free flours, a little bit of chia-meal or flax-meal goes a long way to creating the fluffy, bendable breakfast foods that we love. Otherwise sometimes these gluten free or low gluten flours can be a bit friable or shatteringly powdery. If you’ve eaten many things with straight up gf flour, hopefully you understand what I mean. Not only does the chia or flax help make things bendable (gluten-like) It doesn’t hurt that they also add a great healthy boost to our beloved foods. A boost that helps me think of these things as being healthy-ish… even with a healthy-ish dousing of maple syrup (the real deal please).

Spelt Belgian Waffles
While this is “Belgian” in the North American style, these are not the waffles you’d find on the streets of Brussels. Beyond that, they are delicious! I make the entire batch at once, keeping them warm in the oven while cooking the rest. They are also great reheated from frozen. See the notes at the end for these instructions.
Ingredients:
2 cups spelt flour
¼ cup chia meal (see note)
4 tsp. baking powder
½ tsp. salt
2 cups milk (almond, coconut, cow, etc.)
½ cup canola oil
2 eggs, separated
Directions:
- Plug in and heat your Belgian style waffle maker. Turn your oven on to low.
- In a large bowl combine the spelt flour, chia meal, baking powder and salt. Whisk the dry ingredients together to blend well.
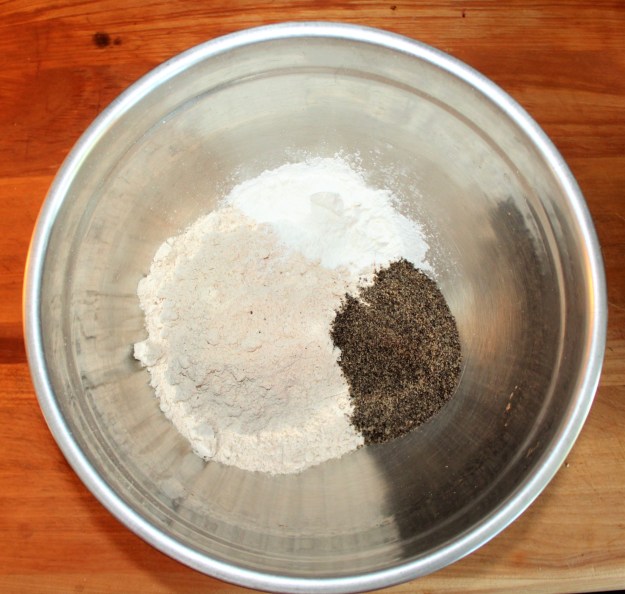
The chia meal looks like a lovely pile of black pepper here, but it will all blend in I promise.
- In a large mixing cup or medium bowl combine the milk (almond milk is my favorite for these) and oil.
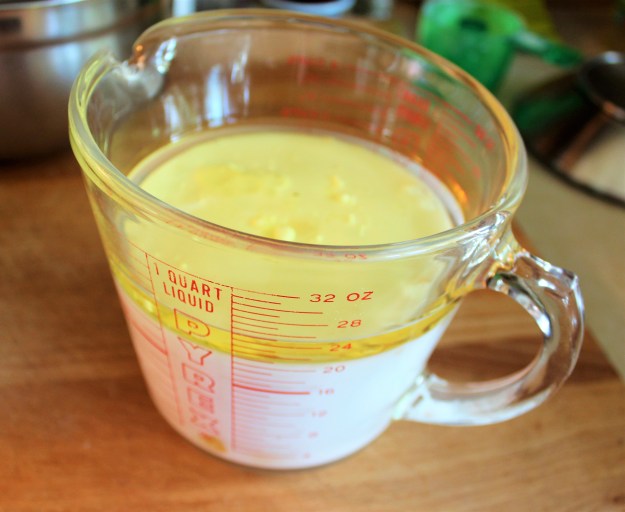
I like to use a glass mixing cup large enough to hold all of my wet ingredients. This one is a four cup measuring cup, so it’s perfect for this recipe.
- Get a small bowl for separating the eggs. Carefully break the eggs one at a time, dropping the whites into the clean bowl and the yolks into the milk and oil mixture. Set the whites aside for the moment.

It’s hard to make a bowl of unbeaten egg whites look interesting. Sigh…
- Use a fork or whisk to mix the wet ingredients together. Pour the wet into the dry and stir to combine. Set this aside.

This doesn’t have to be a perfect emulsion, it just needs to be combined enough that there aren’t whole egg yolks floating around.

Yup, the chia meal is still there peaking out at you, but these are whole grain waffles AND they taste fantastic.
- Using a hand mixer beat the egg whites to firm peaks. Fold the whipped egg whites gently into your waffle batter. There should still be a few streaks of white in your batter. This is what makes your waffles fluffy.
- Cook your waffles according to your waffle maker’s directions. For my waffle maker I use a ½ cup measuring cup to fill the griddle, close the lid and then flip the maker over. As the waffles finish cooking, I remove them from the waffle maker and put them in a single layer directly onto the rack of the oven. This recipe tends to make a total of 8 waffles that fills my oven in two rows of four.
- Any waffles that you don’t eat you can freeze. To reheat what I do is take one of the waffles out of the freezer bag, place it on a plate and drizzle about 1 tsp. of water over the waffle. Then I put this in the microwave for 10 seconds, and finally slide the waffle off of the plate into my toaster oven and toast it lightly. This gives me a warm, fluffy waffle that is crisply on the outside. If you don’t have a toaster oven, you can do the same thing with the broiler of your oven, but watch that waffle like a hawk. It can go from toasty to carbonized (aka burnt) in a second.
Note: Chia seeds lose their awesome oils quickly once ground, so try not to buy them pre-ground as chia meal. Instead, make your own by blitzing chia seeds in a coffee grinder or food processor. You can do the same with flax seeds to create a flax meal. Store any extra chia (or flax) meal in the freezer to keep it fresh. I generally use the black chia seeds since I can find a good organic version. There is also a white chia version that would work just as well.
P.S.
Yes, I just posted a photo of the inside of my oven on the internet. Please don’t judge. If you are my mother or mother-in-law, avert your eyes.
Click here for a printable version of the Spelt Belgian Waffles recipe.


")


