It’s that time of year again… Heading towards the warmest months of summer when the sweetest berries ripen. And in this hottest time of the year, it also brings us back around to canning time. Come January I’ll be trying to invent things that will heat up the kitchen like canning does, but in July and August… in our house without air conditioning… making jams and other preserves makes the house feel something like an Amazonian rain forest. Only the love of jam, the availability of free (when you know where to harvest the wild thing, or have your own bushes) berries, and the desire to actually be able to pronounce the ingredients in your food would lead to such folly. In short, I love it. 😉

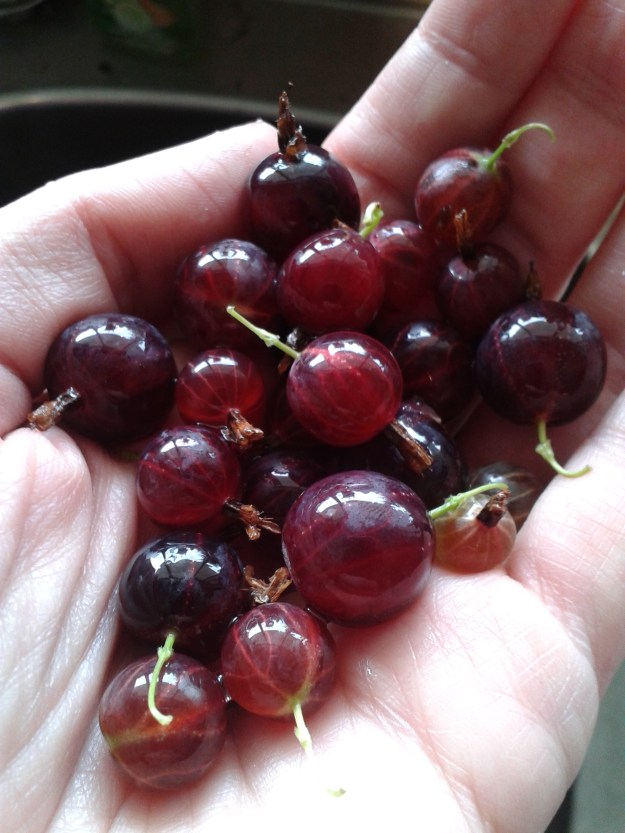
Gooseberries are some of the most beautiful berries ever. They look jewel-like and the resulting jam… worth every single thorn.

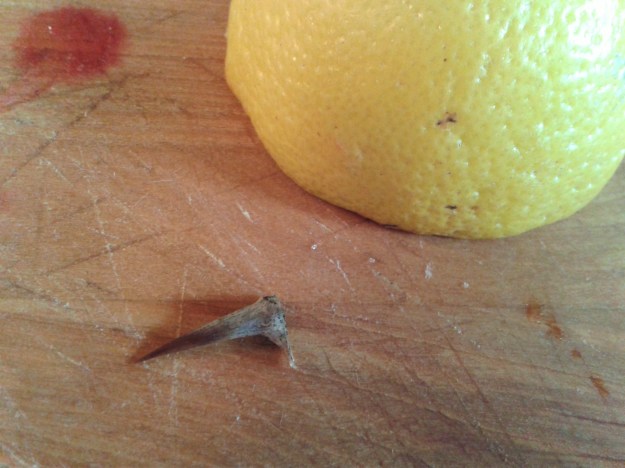
I left the lemon half in the shot to give a sense of scale, but man… these little buggers can leave a mark.
Now my favorite berries, blackberries and blueberries, will not be ready for harvest for a couple more months. The harvest season that is soon upon us, however, is that for the gooseberry. This is not Dave’s favorite berry. He likes the jam well enough, but this delicious jam comes at a prince, and a bloody price at that. This rather innocent looking bush is studded with profoundly sharp thorns to protect its delicious produce. These are not like the puny thorns that snag you from blackberry bushes, but gooseberry thorns are more like mini daggers that sink into your skin and will not let go. Last year Dave was in Belgium on fieldwork when the gooseberries came ripe so it was only myself and Little Man to gather our berries. He says it was academic work. I think it was to avoid the gooseberries.

Little Man was my gooseberry helper last year. He brought one of his superhero action figures and played in the dirt, tossing in a few berries here and there. His favorite part was dumping my “picking bucket” into the larger berry bowl. Kids can help in lots of ways.
Besides the issue of harvesting the gooseberries, the berries will need to be stemmed and tailed. This can be tedious, but I have found that doing this with a friend (or my husband) along with a nice cold beer (or maybe two, but remember you need to keep your wits about you if you are making the jam right after preparing the berries) makes the process a lot nicer. If that does not help, just keep reminding yourself how amazing this jam tastes. You truly cannot buy this flavor from the store.

Removing the stems, tails and leaves from freshly picked gooseberries can be tedious. Grab a friend and a favorite beverage and make the chore into something fun.
Making Gooseberry Jam
Ingredients
4 cups of gooseberries (stemmed and tailed)
1 ¼ cup water
1 lemon, juiced
4 cups sugar
Directions
- Prepare your canner, jars, lids and rings. Place a couple of small ceramic dishes in the freezer. You will use these to test your jam’s doneness later.
- In a large stock pot or Dutch oven combine half of the berries, lemon juice and water. Bring the pot to a boil and cook the berries for 10 minutes. Some of the berries will start to pop and the liquid will turn garnet red.
- Add the rest of the berries and the sugar to the pot and stir over gentle heat (about 10-15 minutes) until the sugar dissolves completely. Do not rush this part or the sugar can crystallize (aka bad mojo for jam). Once the sugar grains are all dissolved bring the berries and sugar to a full, hard boil that cannot be stirred down. Stir often for about 10-15 minutes with a long handled wooden spoon to ensure the jam does not stick or burn.
- To see if the jam has set, remove one of the chilled plates from the freezer and drizzle a little bit of the hot jam mixture onto the plate. Then tilt the plate to let the jam run. If the jam firms up quickly and sort of crinkles on the top, then it is done. If it does not firm up quickly, then let it continue to boil hard for a couple more minutes and test it again. Keep going until you get the crinkles, then you are ready to fill.
- Once the jam is firming up well, remove it from the heat and skim off any foam. This can be set aside in a bowl to add to a nice piece of toast to celebrate your hard work.
- Fill and process your jars based on the manufacturer’s directions. I like to use wide mouthed 250 ml jars.
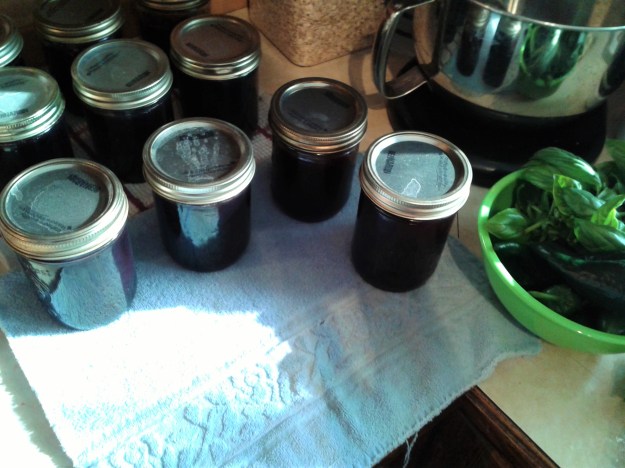
- After the jars are processed, set them aside to cool for 24 hours. Resist the urge to touch or move them during this time. If any lids don’t seal properly, simply put those jars into the refrigerator and enjoy over the next couple of days. The sealed jars can be stored for up to one year.
Click here for a printable version of the Gooseberry Jam recipe.
- After the jars are cooled, clean them off and remove the rings. Label your jars clearly with the name of their contents and the date they were sealed. Store the jars in a single layer in a dark, cool area. Do not stack your jars on top of one another. The reason you remove the rings is that if something went wrong with the canning and bad stuff is growing in there, the lid will lose its seal and pop open. This food should be discarded and not eaten. If you keep the rings on or stack something on top of your jars, then you cannot tell if a seal has popped.


The innocent little bush, just waiting for this years victims… I mean berry pickers…


