When I first started cooking with Little Man, he couldn’t yet walk. I would hold him on my hip and press his little hand around a long wooden spoon and let him “help” me stir whatever I was making. As he grew older, I started asking him to help me cook or bake and he would gleefully dump in a cup of flour that I’d filled for him. Sometimes he would drop the entire thing into the bowl, measuring cup and all. Even if all he did was add in a premeasured scoop of flour, he would tell his Daddy proudly that he’d helped make the muffins. Now more and more it’s not me asking him to come and cook with me, but if he sees me making anything in the kitchen he comes running up asking to help, dragging a stool in his wake.

Two year old Little Man helping me stir ingredients in a measuring cup in our tiny Iowa kitchen.
I don’t want this to sound like a fairytale of always awesome cooking experiences. In fact, there are numerous times when I ask Little Man if he’d like to help me cook or bake and his answer is a curly haired blur of “no” as he runs off to do something else. But, since I’ve taken the time to slow down and get him involved with baking special treats or snacks, as well as making pancakes or stirring dinner, he now thinks of cooking or baking as something that can be fun to do and he often helps me in the kitchen.

Here three year old LM has his first ball of bread dough to play with.
Cooking with kids is a completely different ball game from the cooking you do on your own, and for some people it can be incredibly stressful. When I first learned that I was pregnant with Little Man, I knew that I wanted to have special cooking times with him, and I also knew that I was going to have to change how I worked in the kitchen. I was a good cook, but often got stressed out when trying to cook with someone in the kitchen with me. If Dave was in our tiny kitchen as I cooked… forgetaboutit… not good. Around the same time there were numerous T.V. series about people learning how to host television cooking shows, and much of what they were learning was about how to cook nicely with others and how to teach cooking. I started watching these shows and trying out their advice so that I could learn to play nicely with others in the kitchen, and hopefully be able to teach my son both how to cook but more importantly how to love cooking.

The Blank Park Zoo in Des Moines, Iowa, has cooking workshops for kids. LM got to color his own chef’s hat and then make a turtle cup cake.
Learning how to cook with Little Man has taken quite a bit of trial and error, but now it’s something that we both look forward to. For me, the three main goals for cooking with kids that I try to be mindful of are to:
1. Choose a time to cook when you aren’t pressed for time
2. Embrace the mess
3. Focus on the process not the product

LM is helping Dave grate cheese last Mother’s Day for wraps to bring on our picnic. I’m not sure how much cheese actually made it to the wraps, and how much was “sampled” by the chefs.
Timing is Everything!
There are days (and quite a few of them) when I simply need to get dinner on the table. There’s not a lot of time to mess around, I just need to get into the kitchen, get dinner going and onto the table asap. Those times are not the best for cooking with Little Man. I do my best to never turn him away if he asks to help me cook, but it’s taken lots of practice for me to be able to do this, and frankly there are times when it wouldn’t be safe for him to help me (like even shallow frying or browning meat/veg with splattering oil). This is why when I know that I will be making something that is calmer, that is a particular favorite of Little Man’s, or when I know that I can be more relaxed with when a dish or treat is done then I invite Little Man to come and cook with me. I try to be strategic when I can. There are even certain dishes that he loves that I require he cooks with me, like boxed mac and cheese. If you want to see a great Pavlovian-dog response with Little Man, shake a box of mac and cheese in his vicinity. You’ll see his eyes widen, back straighten, and curls bounce as he runs to see if he heard that rattle correctly. So now, if we’re having boxed mac and cheese, then he’s the one making it (just not the draining of the hot pasta part yet), with my help of course.
It’s the issue of time and timing that I’ve had to work on the most for cooking with Little Man. As with anything else dealing with kids, if you are stressed about it your child will be stressed too. I had to practice this, but it’s almost like a deep breathing exercise. Just accept the fact that if it normally takes you 20 minutes to get a pan of muffins into the oven, when you first start cooking with a child that time could easily double, but that’s OK. The goal isn’t speed here, it’s teaching your child how to cook, how to enjoy cooking, and most importantly getting to spend some special time with you while doing so. If it takes you a few more (or many more) minutes to cook something together, then those are bonus moments that you get to spend together doing something fun.

These were LM’s birthday cup cakes to bring to day care. I found little sprinkles all over the kitchen for days.
Embrace the Mess!
Much like giving up control of your timeline, especially when first learning how to cook with your child or when cooking with a young child you need to accept the fact that it’s going to get messy. Just ask my husband (or mother-in-law… wait… on second thought don’t do that…), I am not the most organized or cleanest cook out there. I’ve gotten better over the years, but I tend to leave a swath of destruction in my wake (just check out the background in the banner image of this post… wait, no don’t do that… its too messy). I’ve been practicing being better, specifically as an example for Little Man as we cook, but I have a bit of work to be done there.
That said, I am trying to cook cleaner, so when I first started baking with Little Man it was hard for me to let him do the scooping of ingredients on his own. I would scoop the flour/sugar/spice, hold the measuring cup or spoon over the bowl and only then let him dump the ingredient in. The reason I did this was partly based on Little Man’s age at the time, and partly based on my own desire to control the potential chaos in my kitchen. You know best the abilities of your child, and if you aren’t sure of his/her abilities in the kitchen then start with what you are comfortable with and move up from there. Just remember that your child learns and develops at an astonishing rate. You (meaning me too) need to remember to let your child push his/her abilities from time to time to see what they really can do.
Increasingly Little Man asks if he can do any of our cooking or baking tasks “all by” himself. Since baking particularly needs to be pretty precise, I will still often scoop and level a measuring cup or spoon, but then I hand it over immediately to Little Man who will then move it to the bowl and dump it. Especially at first there was quite a bit of spill over with a winter-esque coating of flour and/or sugar across the kitchen counter when we were baking. But that didn’t matter. He could dump an entire cup of flour on the floor… much like I myself did last night… and it wouldn’t matter. We would look at each other then bust up laughing. I’d help him do the correct measurement, and then we’d stop to clean up the mess together. As with anything else in life worth learning, you are going to make a mistake from time to time. It’s important that we give our kids the freedom to make mistakes and to learn from them as well. This also gives Little Man practice in cleaning up, but he doesn’t mind doing it with me since it’s all a part of the cooking game.

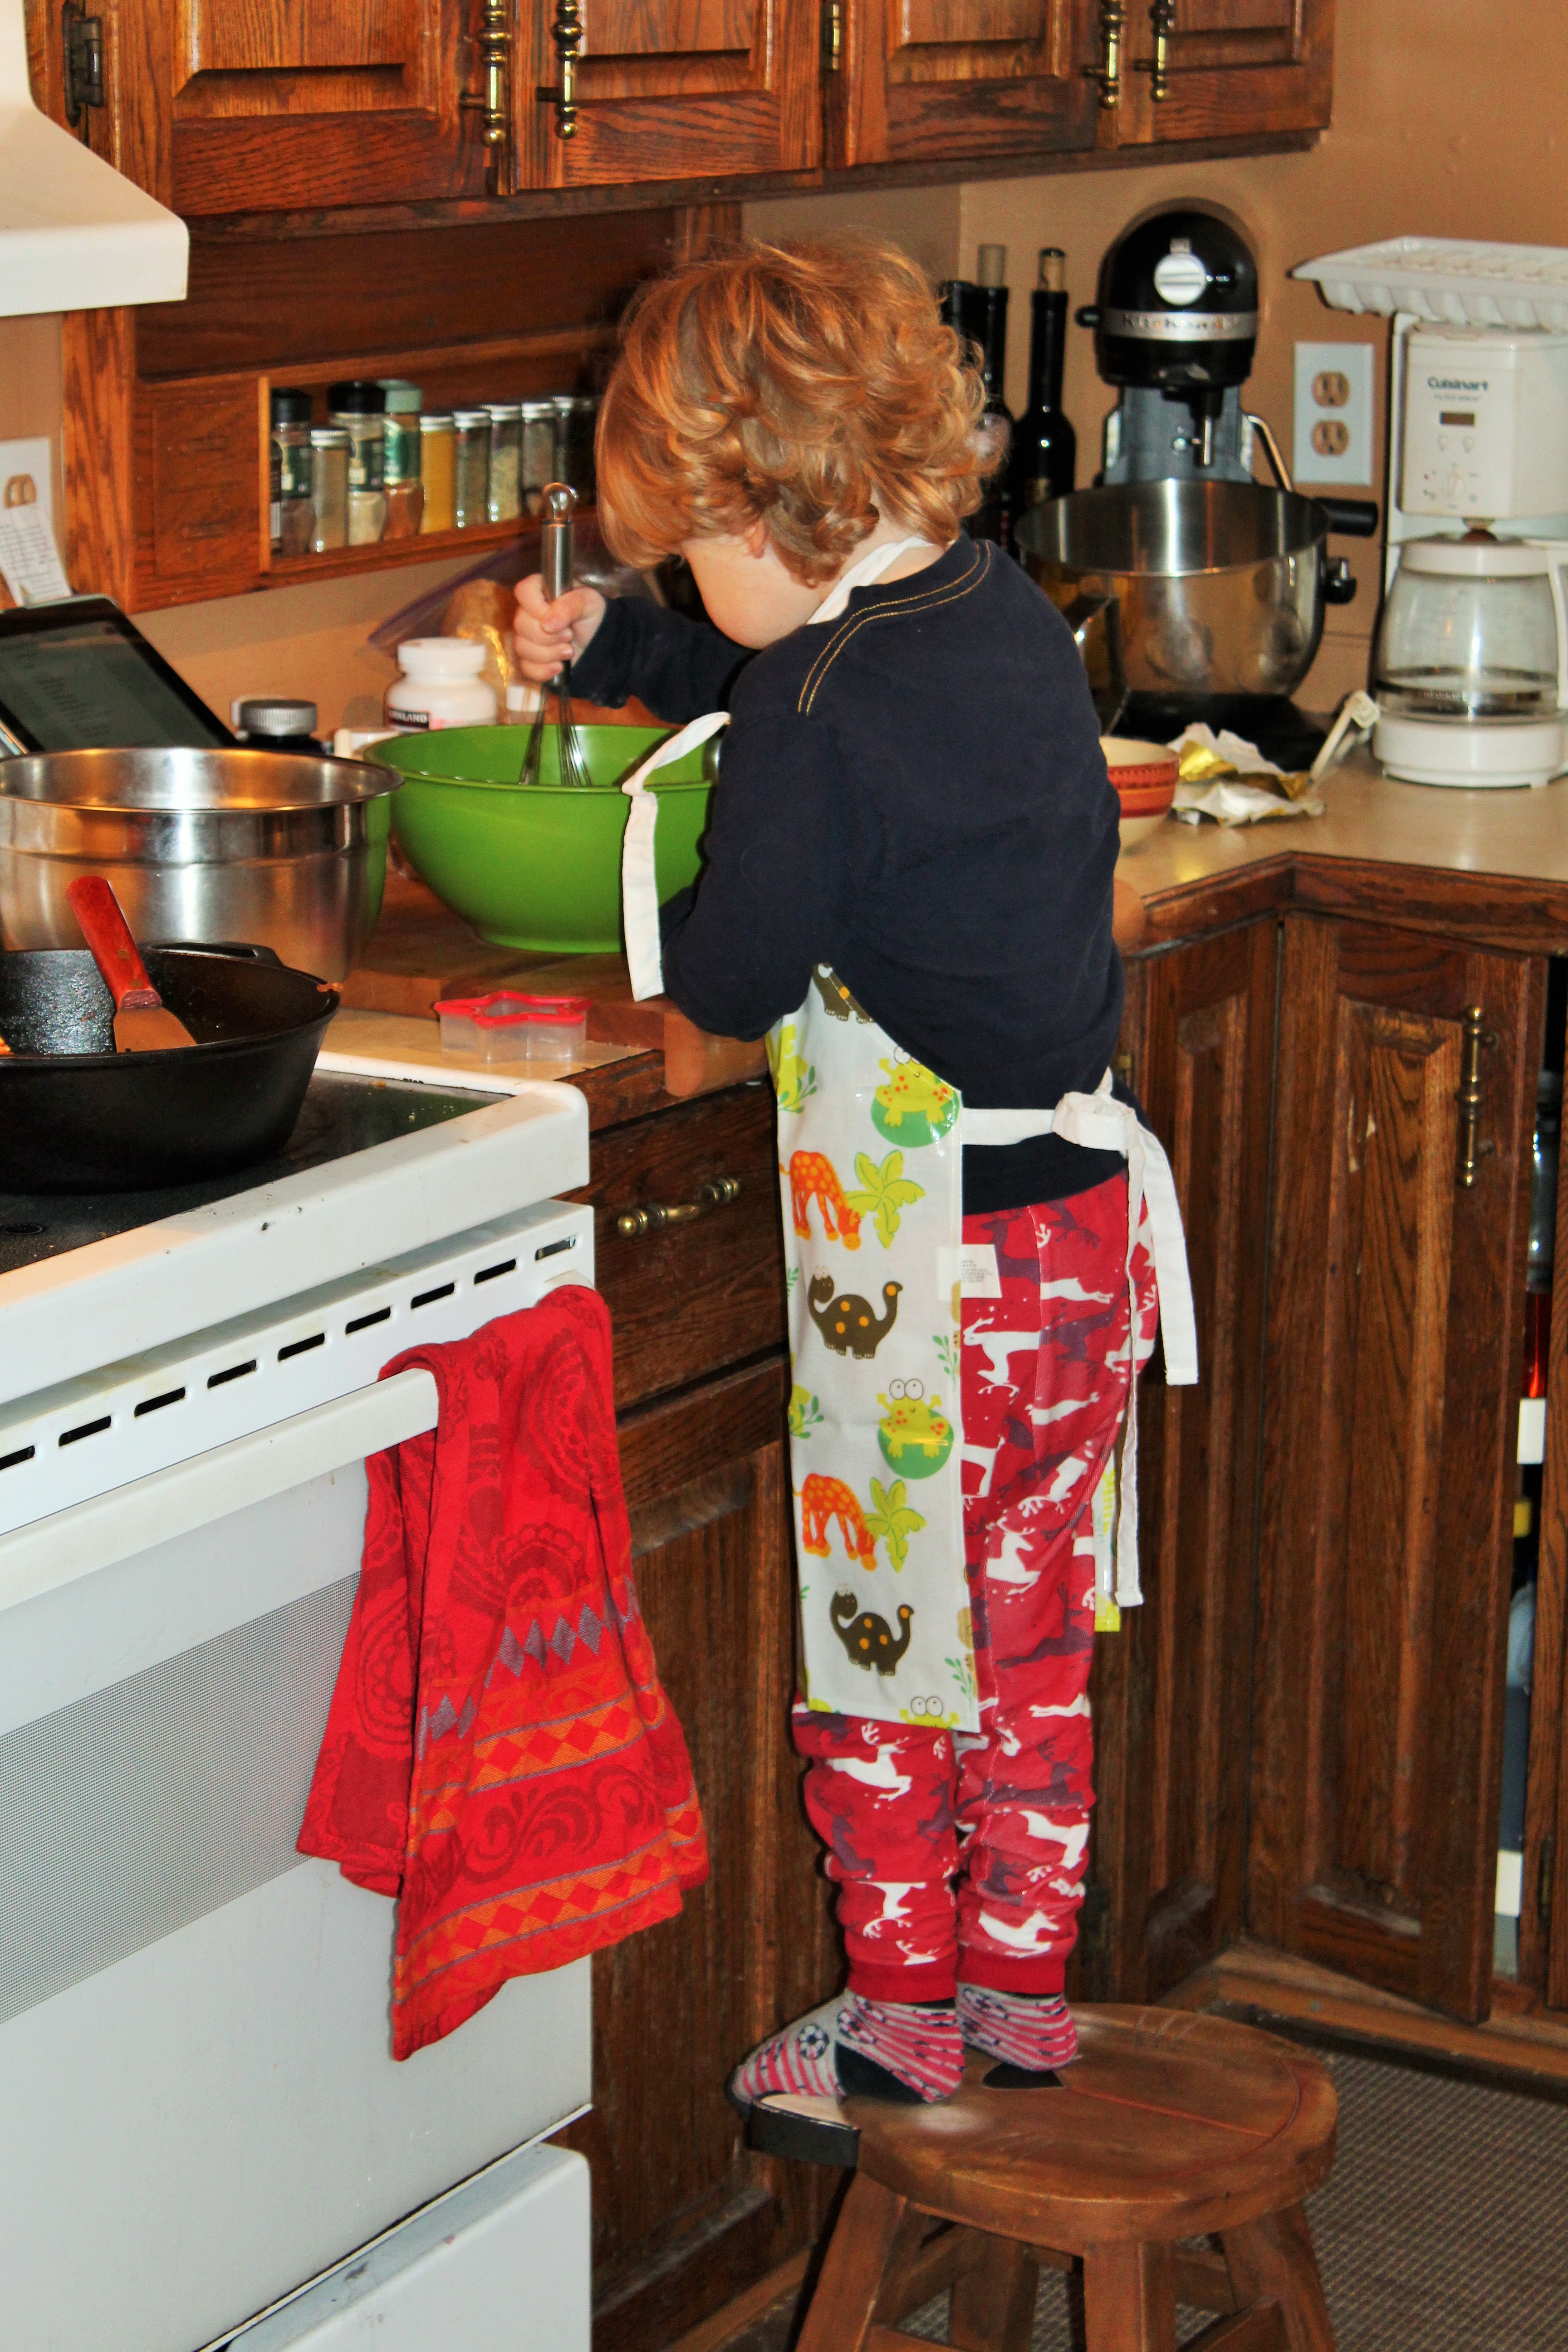
I love how serious he is here with his mixing bowl, as he whisks dry ingredients together. The flour cloud must have subsided by the time I took the picture.
It’s About the Process Not the Product
This last goal for cooking with kids really sums up the previous two about letting go of stress about time and cleanliness. If your muffins are the ugliest in the world, that’s just another part of the great story that you’ll tell for years. And who knows, even though they look a mess those ugly muffins might still be delicious. If you make something that is a complete flop, inedible to the core, again this can become part of family lore and it can also be a great opportunity to call in reinforcements like the local pizza delivery place. The only thing that matters is that you were in the kitchen cooking with your child. Period. End of story.
If you are going to cook, at some point you are going to fail in spectacular proportions. I, myself have had some doozies. For years Dave would not let me make mashed potatoes since mine were insipid at best, watery and under/over seasoned at worst. Then there was also the first Thanksgiving meal that I made him. That shall not be spoken of here. There was also the time that I didn’t just “over caramelize” the kale chips at my mother-in-law’s house, I incinerated them. I’m not even sure there was any forensic evidence left of those “chips” that had started out as a beautiful head of expensive kale. Perhaps a fancy chef could have used them as a kale ash garnish for something, but for me that fail was so spectacular the only thing I could do about it was laugh and deposit my creation in the organic bin.
We all make mistakes. Frankly these mistakes in cooking mean that we are trying something new, and hopefully we can learn from what went wrong, making our cooking better for the next time we try that recipe. Like my “blackened” kale chips, I learned to watch crisping kale like a hawk, never taking my eyes off of it. From your cooking mistakes you can learn to make your own cooking better, as well as letting your child learn from mistakes too. What is most important here is that you deal with the mistake with grace (and maybe even some laughter), try to troubleshoot it to see if it can be fixed (more learning moments here), and if all else fails you clean up together and try again (or call for take out).

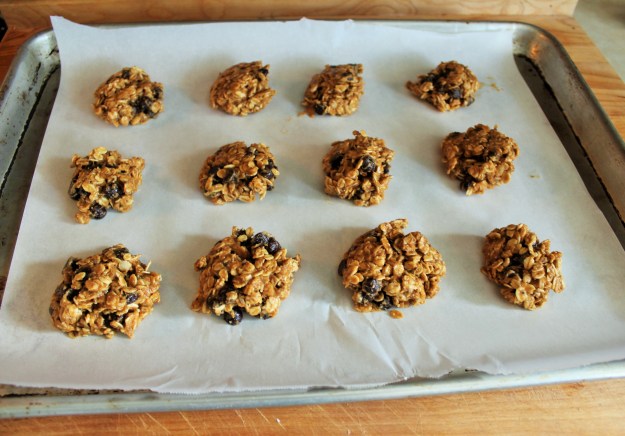
LM loves chocolate and I love all of the healthy ingredients I get to sneak into his snacks.
Getting Started…
The best way to get started cooking with your child is to choose a recipe that is a sure fire hit with your child, as well as being one that fits your comfort level in the kitchen. For me, that “dish” was boxed mac and cheese. It’s not even a recipe, really just more of following instructions on the box. What was important for me was that this is something that Little Man LOVES, that we could pull off quickly before his attention span faltered, and that turns out the same every time. The first time “we” made mac and cheese together, all he did was dump in the sauce mix and stir the milk in for a few seconds before he decided he wanted to go play. No problem. He played and I finished off our masterpiece. For lunch that day he was super impressed with himself that he had helped Mommy make the food. As Little Man has grown more confident in the kitchen, I keep finding new things for him to do. I think that the first actual recipe we did together was for Banana Chocolate Muffins (see above picture for the results). From that point on I made a point of asking him to come and cook with me whenever I was following a recipe for a dish that I knew he would particularly like (such as pancakes), as well as letting him join in when ever he asks.
What I’ve started to do recently is to ask Little Man if there is something that he would like to make with me in the kitchen. Right now that question still stumps him a bit since he doesn’t know the options he has to choose from. So if he seems stalled, I suggest a couple possibilities that I know we have ingredients for and let him choose. I think the next thing we’ll try is to flip through one of my cookbooks with pretty pictures and see if something catches his fancy. Let’s just hope he doesn’t choose some form of fancy souffle. But you know, even if he does choose a souffle, something that I’ve never made before, and even if it is a magnificent flop, we’ll have a blast doing it. I might just be sure that I have the ingredients for some Not So Traditional Chocolate Chip Cookies stashed away… just in case.
Here are my favorite recipes to make with Little Man:
1. Mini Chocolate Cupcakes
2. Auntie Erin’s Cocoa
3. Cheddar Chive Scones
4. Marie’s Hummus
5. Mom’s Latkas
6. Perfect Spelt Pancakes (also Perfect Whole Wheat Pancakes)
Enough chatter, get out there and cook with your favorite kid or kiddos. And if you have any tips that have worked for you, please let me know in the comment section. I’m always interested in learning more.

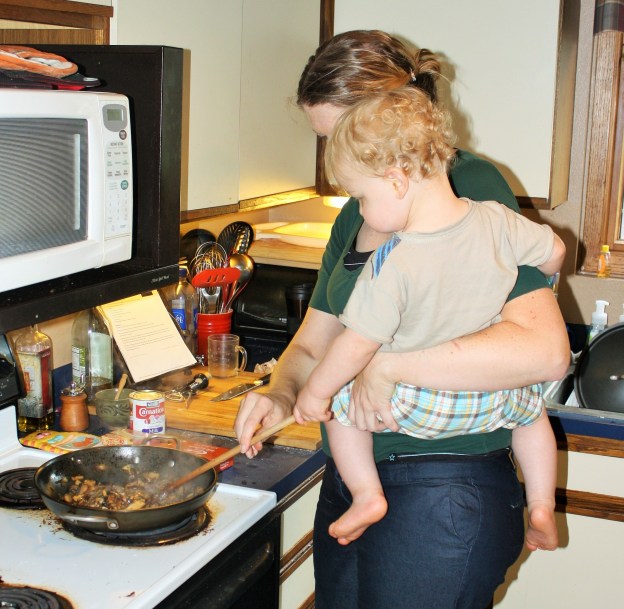
Based on my outfit, I must have just come home from teaching, jumped into the kitchen, then grabbed LM for some Mommy time while making dinner.


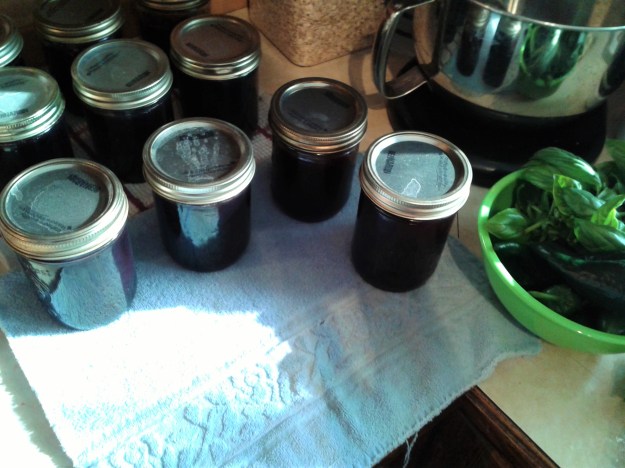
 Do not be tempted to clean the water deposits off of the lids until they have cooled for 24 hours. Let them sit undisturbed so you do not accidentally pop a seal.